Öhlins TTX25 Service Tech
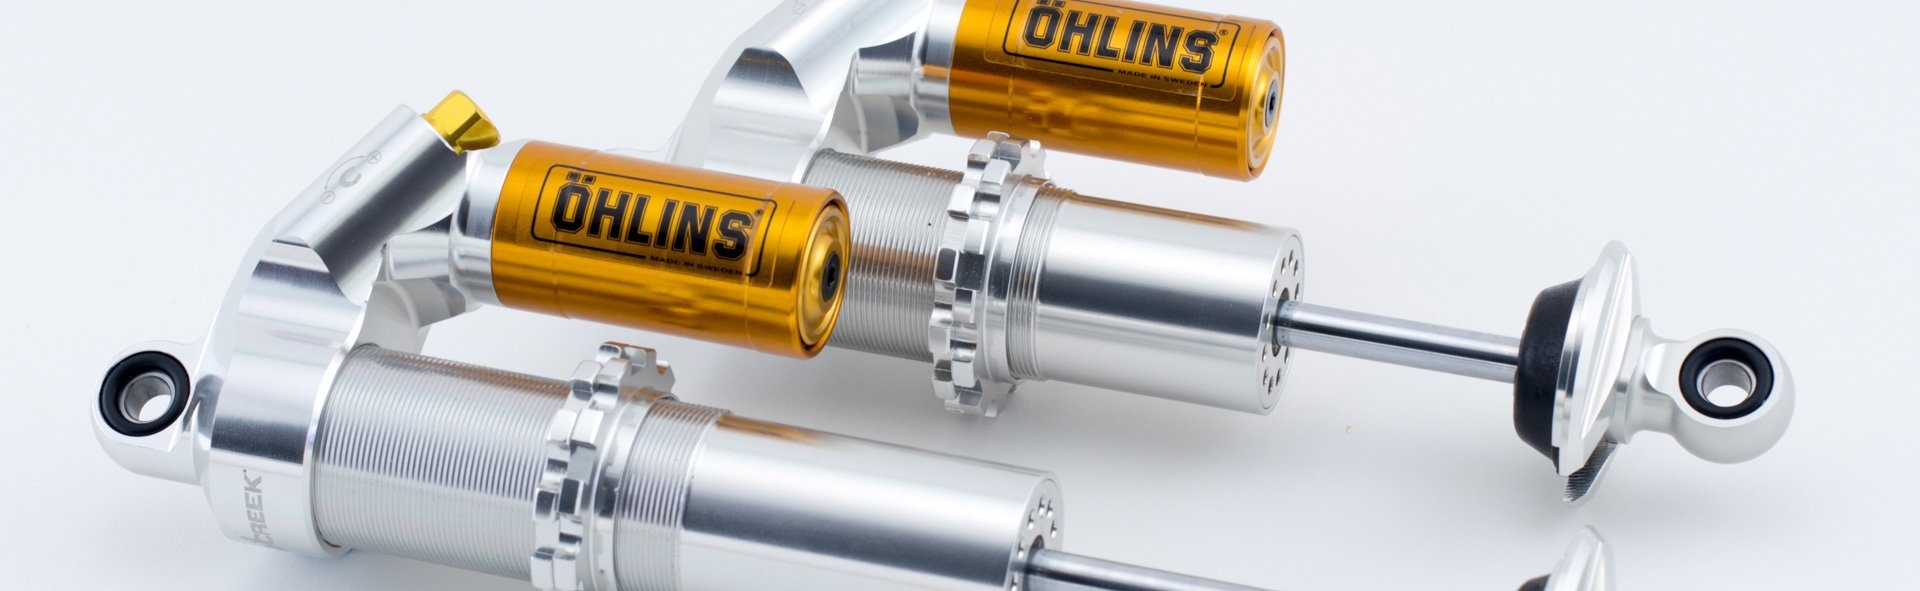
Shock Identification
There are two main generations of the TTX25 shocks: pre ’14 models and post ’14 models. It is important to know which generation you have because each has a specific rebuild kit. The quickest way to identify each is by the low speed bleed adjusters. The pre ’14 shocks have flat head style low speed adjusters while the post ’14 shocks have hex head style low speed adjusters. However, this is not 100% reliable since there is the possibility of overlap of adjuster styles during the introduction of the newer generation and it is also possible newer adjusters could be installed into older shocks and vice versa. The inner tube and seal head are the only surefire ways to positively identify each shock. Below are the characteristics of each generation.
Pre ’14 TTX25 Shocks
- “Large” version seal head to inner tube mating diameter. This diameter is always 25mm.
- May have 25mm or 20mm diameter main piston.
- Inner tube for 25mm diameter main piston is straight walled while inner tube for 20mm diameter main piston flares out to 25mm.
- Uses Öhlins rebuild kit U00051-01KitM
Post ’14 TTX25 Shocks
- “Small” version seal head to inner tube mating diameter. This diameter is always 20mm.
- Always has 20mm diameter main piston.
- Inner tube is straight walled with no flare.
- Uses Öhlins rebuild kit U00051-02KitM
In summary, if a shock has a 25mm main piston or a 20mm main piston with a flared inner tube it is a pre ’14 model TTX25. If a shock has a 20mm main piston and straight walled inner tube with no flare it is a post ’14 model TTX25.
Rebuild Kit Contents
Each Öhlins rebuild kit comes with all parts you need to rebuild an entire set of 4 shocks. Not all parts may be used depending on your needs and shock version. Each part in the rebuild kit is also available individually. The rebuild kit contains the following items:
- 1 liter of Öhlins damper fluid
- Small container of shock grease
- O-ring seals
- Main piston wear bands
- Seal head assemblies
- Seal head installation sleeves
- Piston installation o-rings
Tools Recommended for Use With Rebuild Kit
We recommend the following tools at minimum to do a full Öhlins TTX25 shock rebuild.
- Öhlins End Cap Disassembly Tool (00720-03)
- Öhlins Shaft Clamp (U00050-09)
- Öhlins Fill Needle Adapter (U00050-16)
- Öhlins Seal Head Spanner (U00050-18)
- Kaz Gas Charging Tool (FSAE-008-501)
Other Tools Needed for Rebuild
- Heat Gun
- Thread Locker
- Razor Blade
- Pick
- Vise
- Torque Wrench
- Basic Hand Tools
Revalve Kit Contents
Each Öhlins revalve kit (U00052-01KitM) comes with parts needed to revalve 2 shocks with any available Öhlins valving. Over the years TTX25 shocks have always come stock with the large bleed low speed adjuster and either 10 N/mm or 20 N/mm high speed poppet springs. Therefore, each kit contains the following items:
- 1 liter of Öhlins damper fluid
- End Adjusters (small bleed diameter)
- Adjustment Needles (small bleed hole diameter)
- High Speed Valve Springs (4 each of 10 N/mm, 20 N/mm, and 30 N/mm)
Best Practices
There are basic things you should always do to care for your shocks. Following these simple suggestions will make sure you get the most out of your shocks for as long as possible.
- Never crank down on the adjusters. When they stop turning that is it. Snugging the low speed needle adjusters any further only damages the needle and the seat which will require replacement to get them back in spec.
- Keep your shock free of dirt and debris. Too often we encounter heavily soiled shocks. Over time the debris gets picked up by the sliding surfaces and can damage seals and sealing surfaces. Be especially mindful of dirt around the adjusters and the seal head.
- Always keep your shocks properly charged with nitrogen. When it doubt, recharge.
- Be mindful of the misalignment of the shock through full suspension travel. If any part of the eyelet contacts any part of the mount the shock is now binding and may sustain damage, leak, or function improperly.
- Important: The newest version of the TTX25 uses a socket head screw as the stop for the high speed adjusters when reaching full soft. We have found that many users are turning the adjusters past this point which leads to damaged adjuster housings and leaks. Please pay close attention when backing out these adjusters and do not allow them to thread out past the stop.